Crafts With Plastic Bottles – Parenthood
During school holidays like Christmas or summer, children have a lot more free time during the day. One of the activities that may be the most entertaining, plus help develop their creativity and imagination, is the realization of work manuals .
As always, here we try to convey to you ideas of crafts , the materials of which are simple and common, so you will inevitably have them at home. On this occasion, the basic material for these ideas is the plastic bottle.
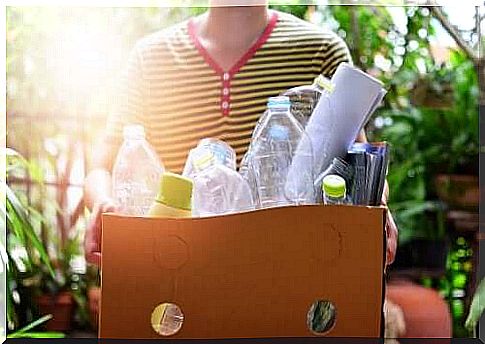
Today, it is important to make our children aware of the minimum use of this material , so it is a good idea to give plastic bottles a second life to reuse them and thus create different new objects.
It is also important that during these manual works you are with your children at all times, because the bottles will have to be cut. However, this is an action that children should not take on their own.
Some manual work with plastic bottles
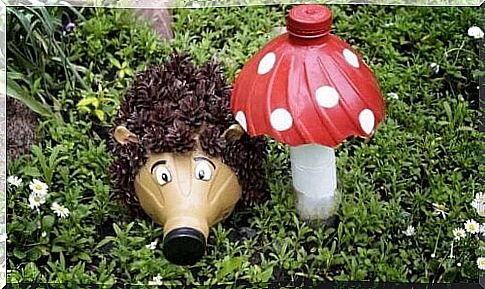
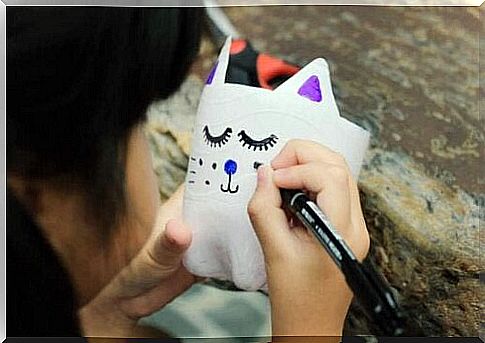
Animals with plastic bottles
Children love animals. This manual work with plastic bottles is one that children will love the most. They will even have the option to create different animals from a single bottle. To do so, you will need the following:
-
A plastic bottle.
-
Colored cardboard.
-
Scissors.
-
Paint.
-
Paintbrushes.
The first step will be to make a frame in the lower part of the bottle, because for this manual activity you will only need the bottom of the bottle. Once the frame has been cut out, the next step will be to decorate and paint the bottle, depending on the animal you have chosen . If you have several water bottles, you can take the opportunity to create several animals, such as a pig, a zebra or a cow. There are hundreds of possibilities, all you need is your imagination.
A piggy bank
Nothing will appeal to children more than creating their own piggy bank to store the money they are going to save. To do this, you will have two possibilities: it will depend on whether you want to store only the banknotes there, or if you will store the banknotes and coins.
If you opt for the first option, it will not be necessary to make bottle cuts because you can leave the spout to introduce the banknotes. On the other hand, if you also want to store parts there, you will have to make a cutout on the front of the bottle to be able to insert them there.
To decorate it, you will also have two options: cover it with paper or paint it.
Endlessly and beyond with a space rocket!
If the crafts you do together can serve as a toy for your child, making them will make the activity even more fun. That’s why they’ll love making their own space rocket . For this you will need the following materials:
-
A plastic bottle.
-
A painting of his favorite color.
-
From cardboard .
-
Of leaves gray .
-
Scissors.
-
Glue.
-
Stickers.
The first step is to paint the plastic bottle the color of your choice. Once painted, you can stick all the stickers you want on it and thus personalize your rocket even more. The next step will be to create the rocket wings and the front part. For this, we will use a box:
-
The front part, we will make it by creating a cone with the gray leaves.
-
The wings, using cardboard, and then covering them with the leaves.
The frog game, one of the most popular crafts
There are games that, despite the passage of time, do not go out of style. These are traditional games. One of these games is, precisely, the one that we will build with a plastic bottle.
More concretely, we are talking about the game of the frog. Do you remember that frog with an open mouth that we used to play tokens? Well, it is precisely this same frog that we are going to create with the following materials:
-
A bottle of water of 5 liters or more.
-
Colored boxes.
-
Glue.
-
Scissors.
The first step will be to create the frog’s mouth. For this, we will make a hole in the front of the bottle, on one half, with an amplitude large enough to be able to introduce the tokens correctly. Once the slit has been created, with the colored cards we will make the eyes, the corners of the lips and the legs of the frog. And we will finally have a game to play!